3D Game Rendering - Behind the Scenes

Each frame seen in a modern game is the combination of many different layers and effects. This article explains each stage of the rendering process in our first person shooter Sector's Edge.
There are a few terms used in this article:
- Buffer - a 2D image that stores either byte or float data for each pixel
- Normal - the XYZ direction that each pixel is facing. For example, the top of your desk is facing upwards and the ceiling is facing downwards
- Camera - the position of the player and the direction they are looking
Stage 1. Physical Rendering
The first stage involves rendering all in-game physical objects to four buffers:
- Colour buffer - stores the RGB value of each pixel
- Depth buffer - stores how far away each pixel is from the camera
- Normal buffer - stores an XYZ normal for each pixel
- Data buffer - stores special data for each pixel (explained below)
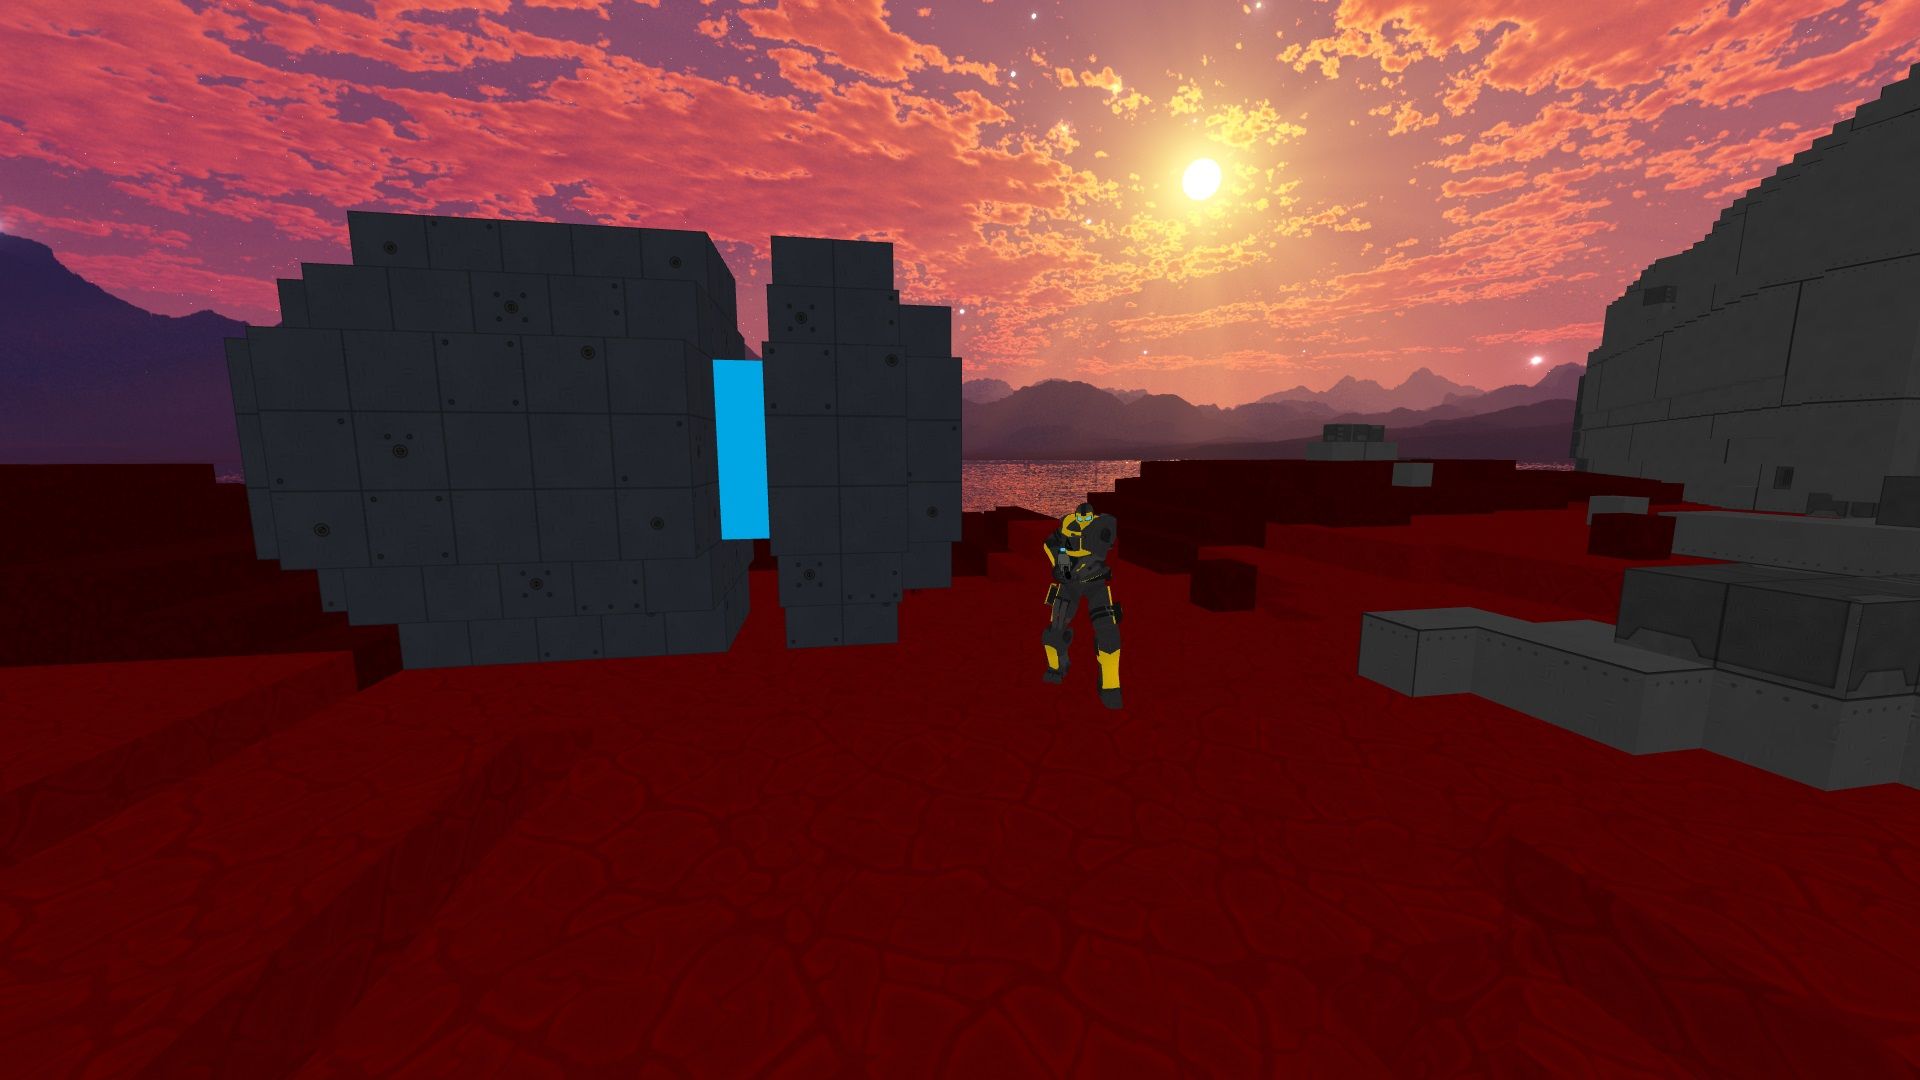
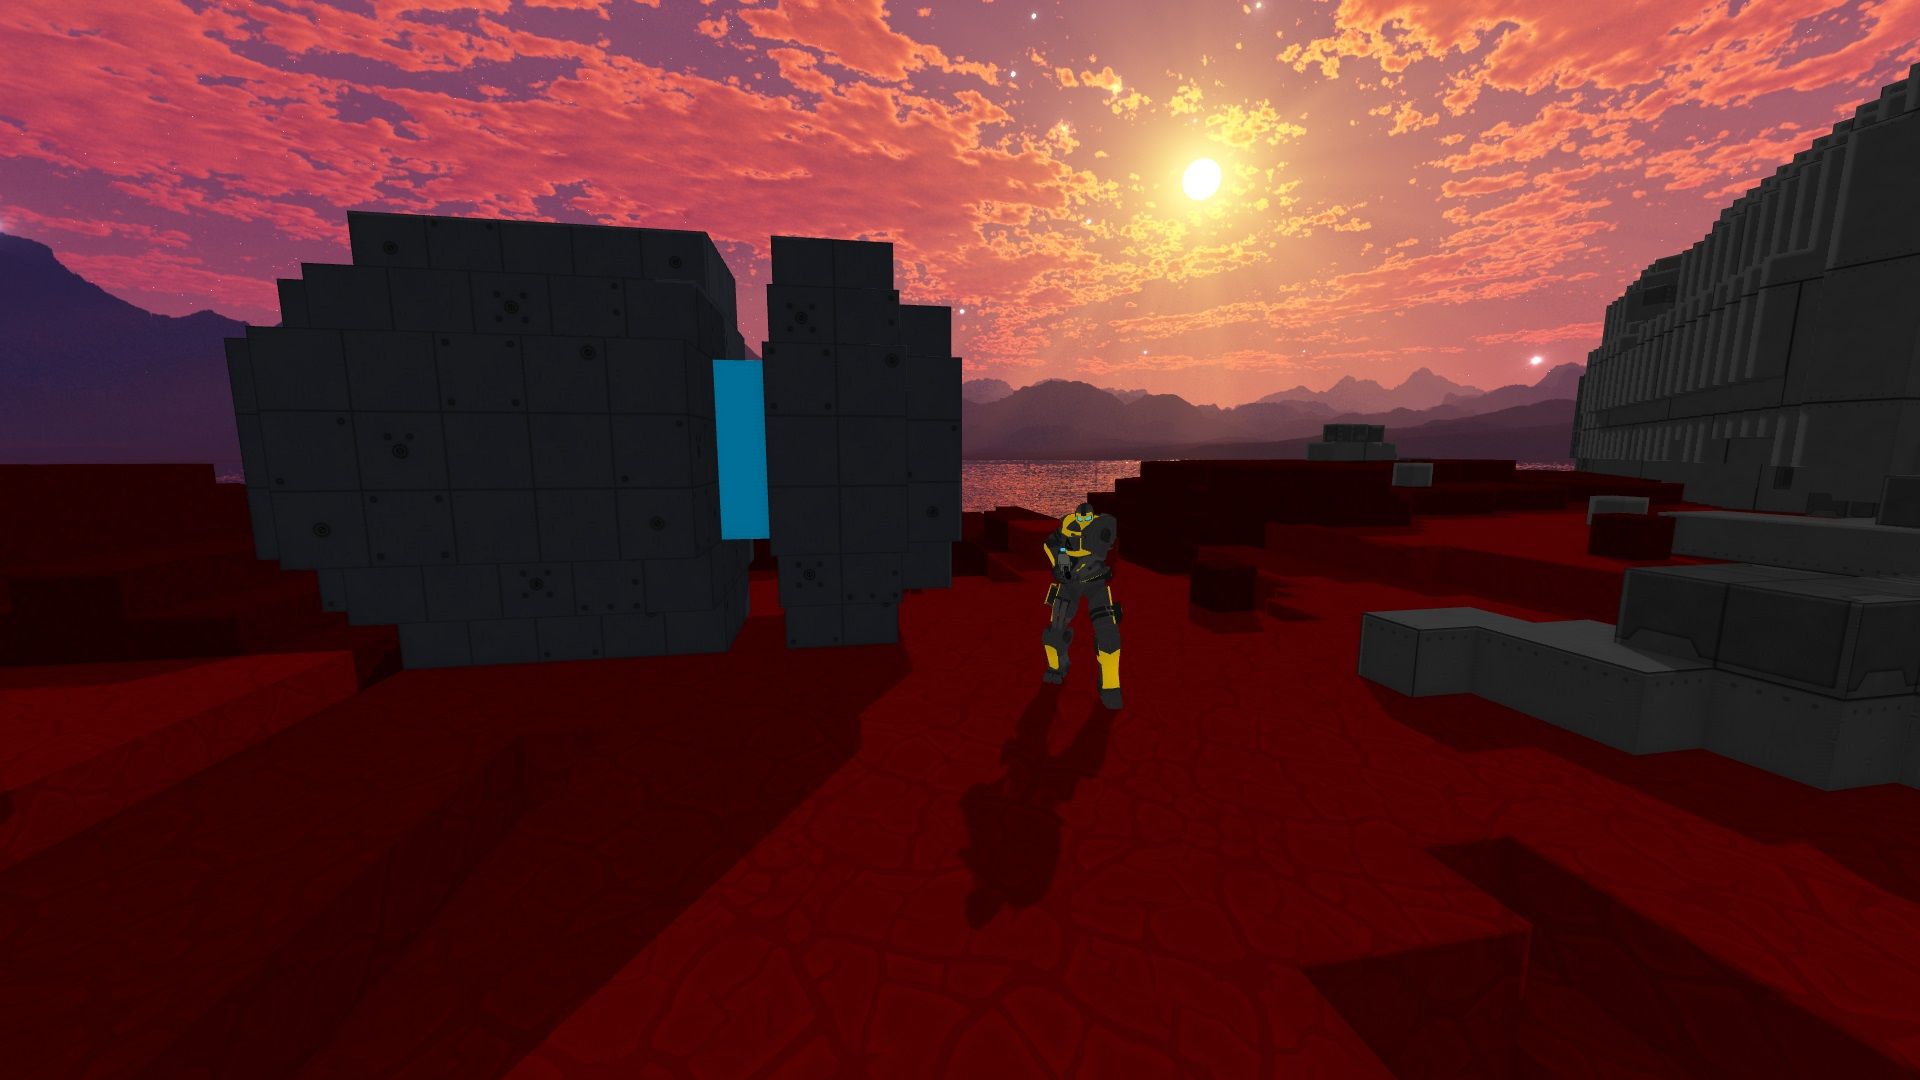
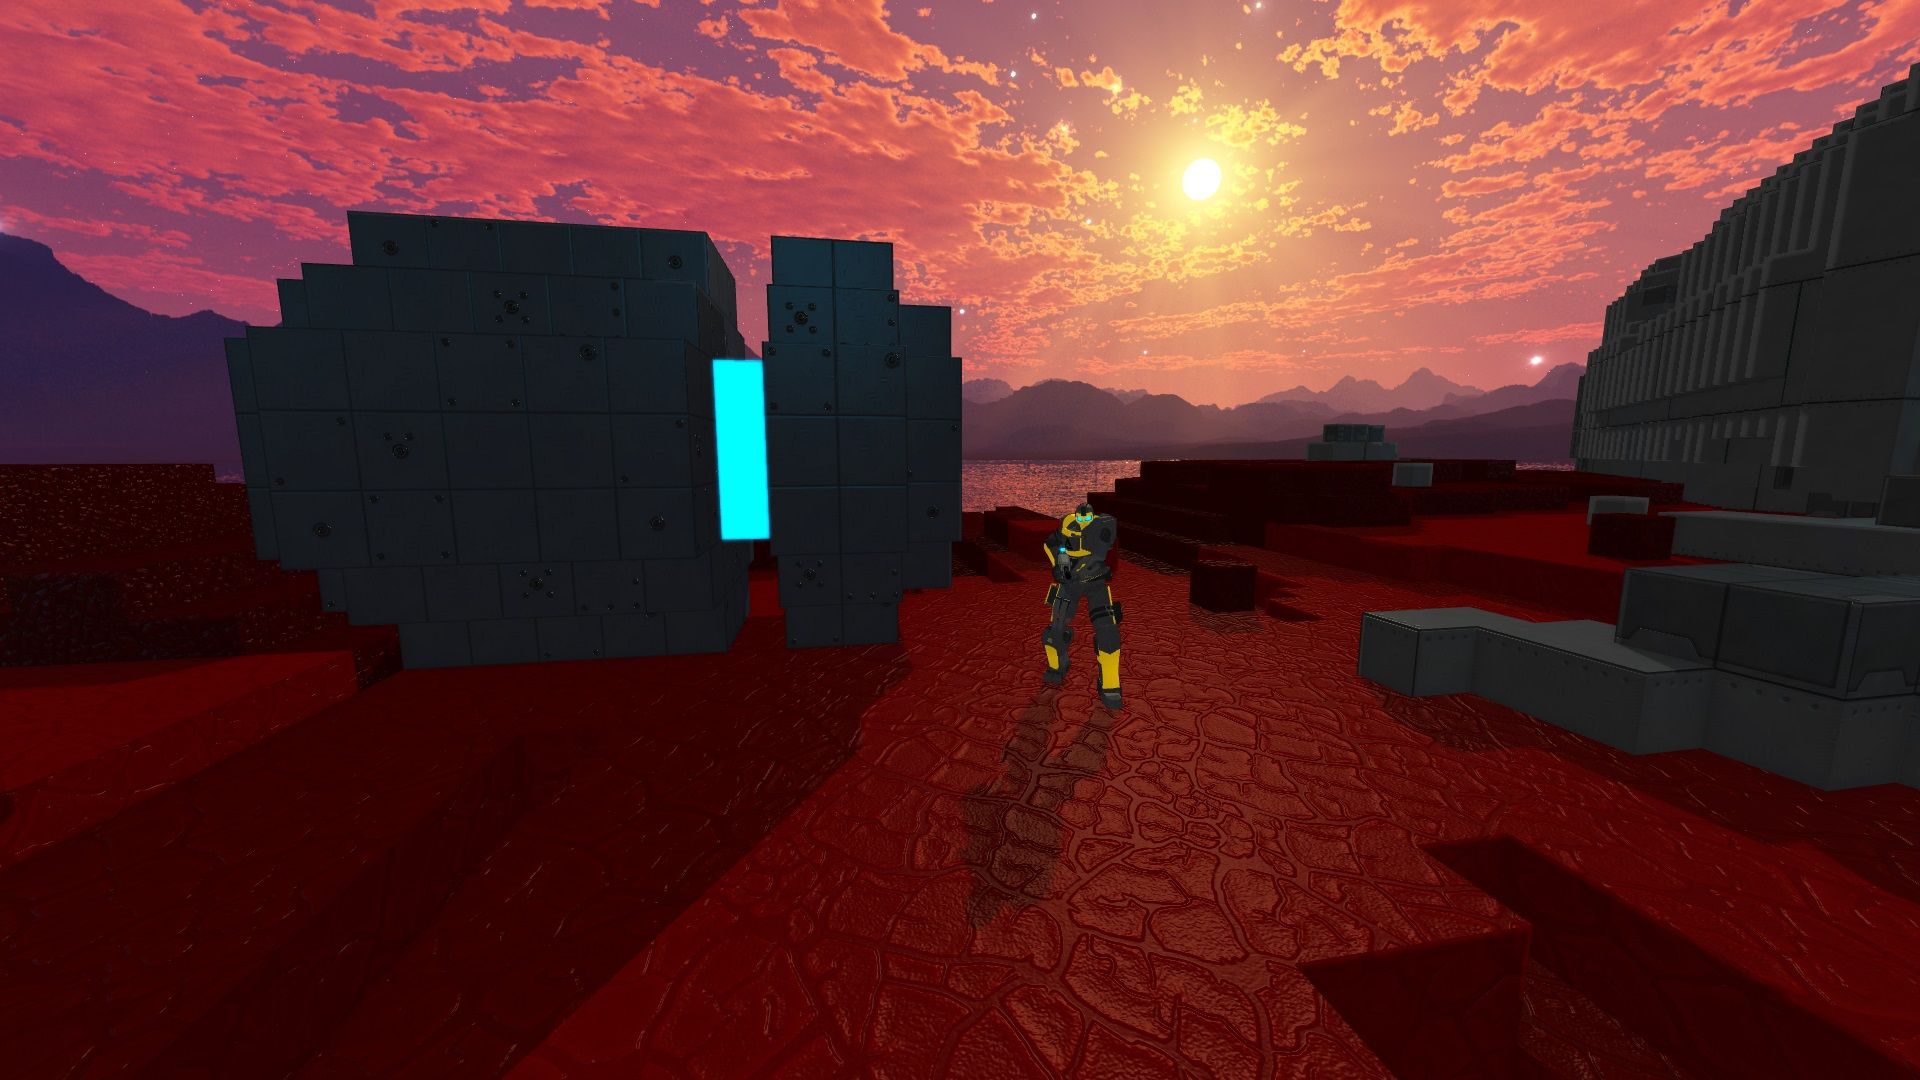
Colour Buffer

The colour buffer stores an RGB colour for each pixel on the screen.
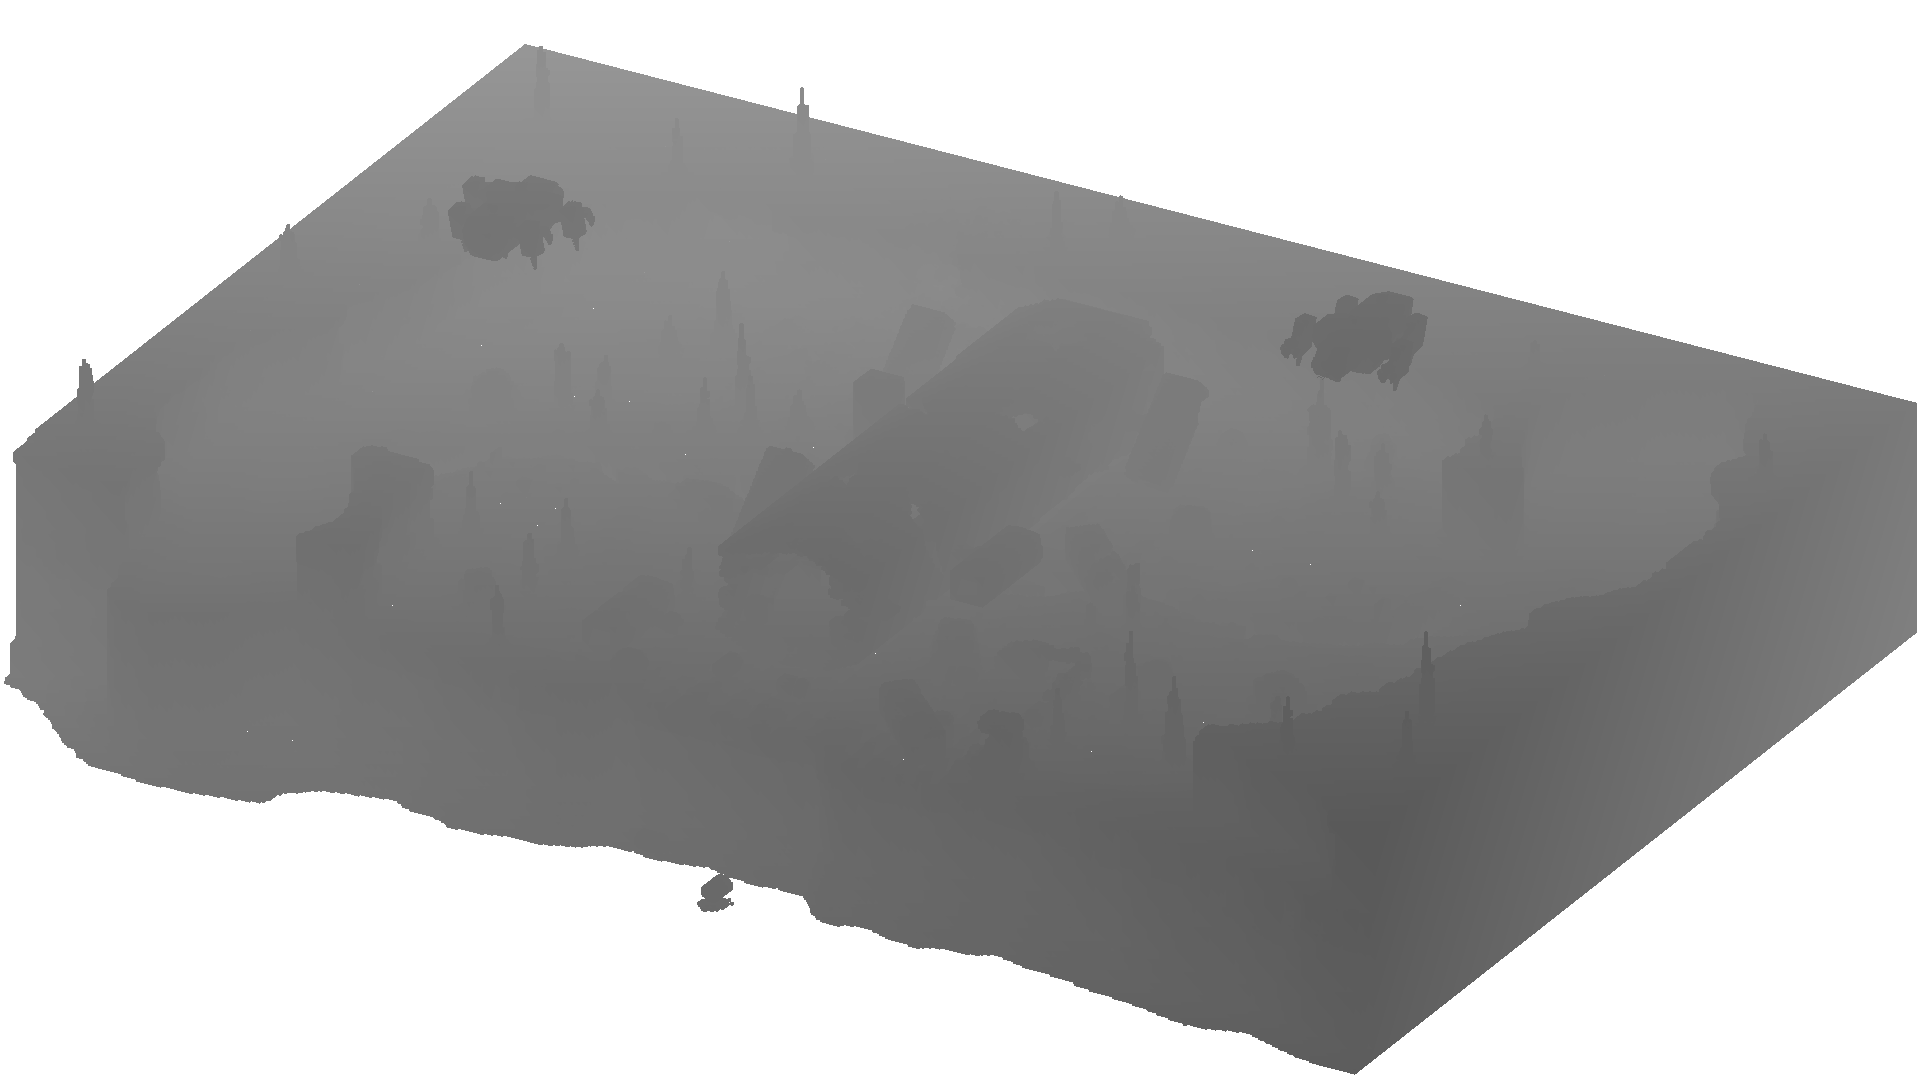
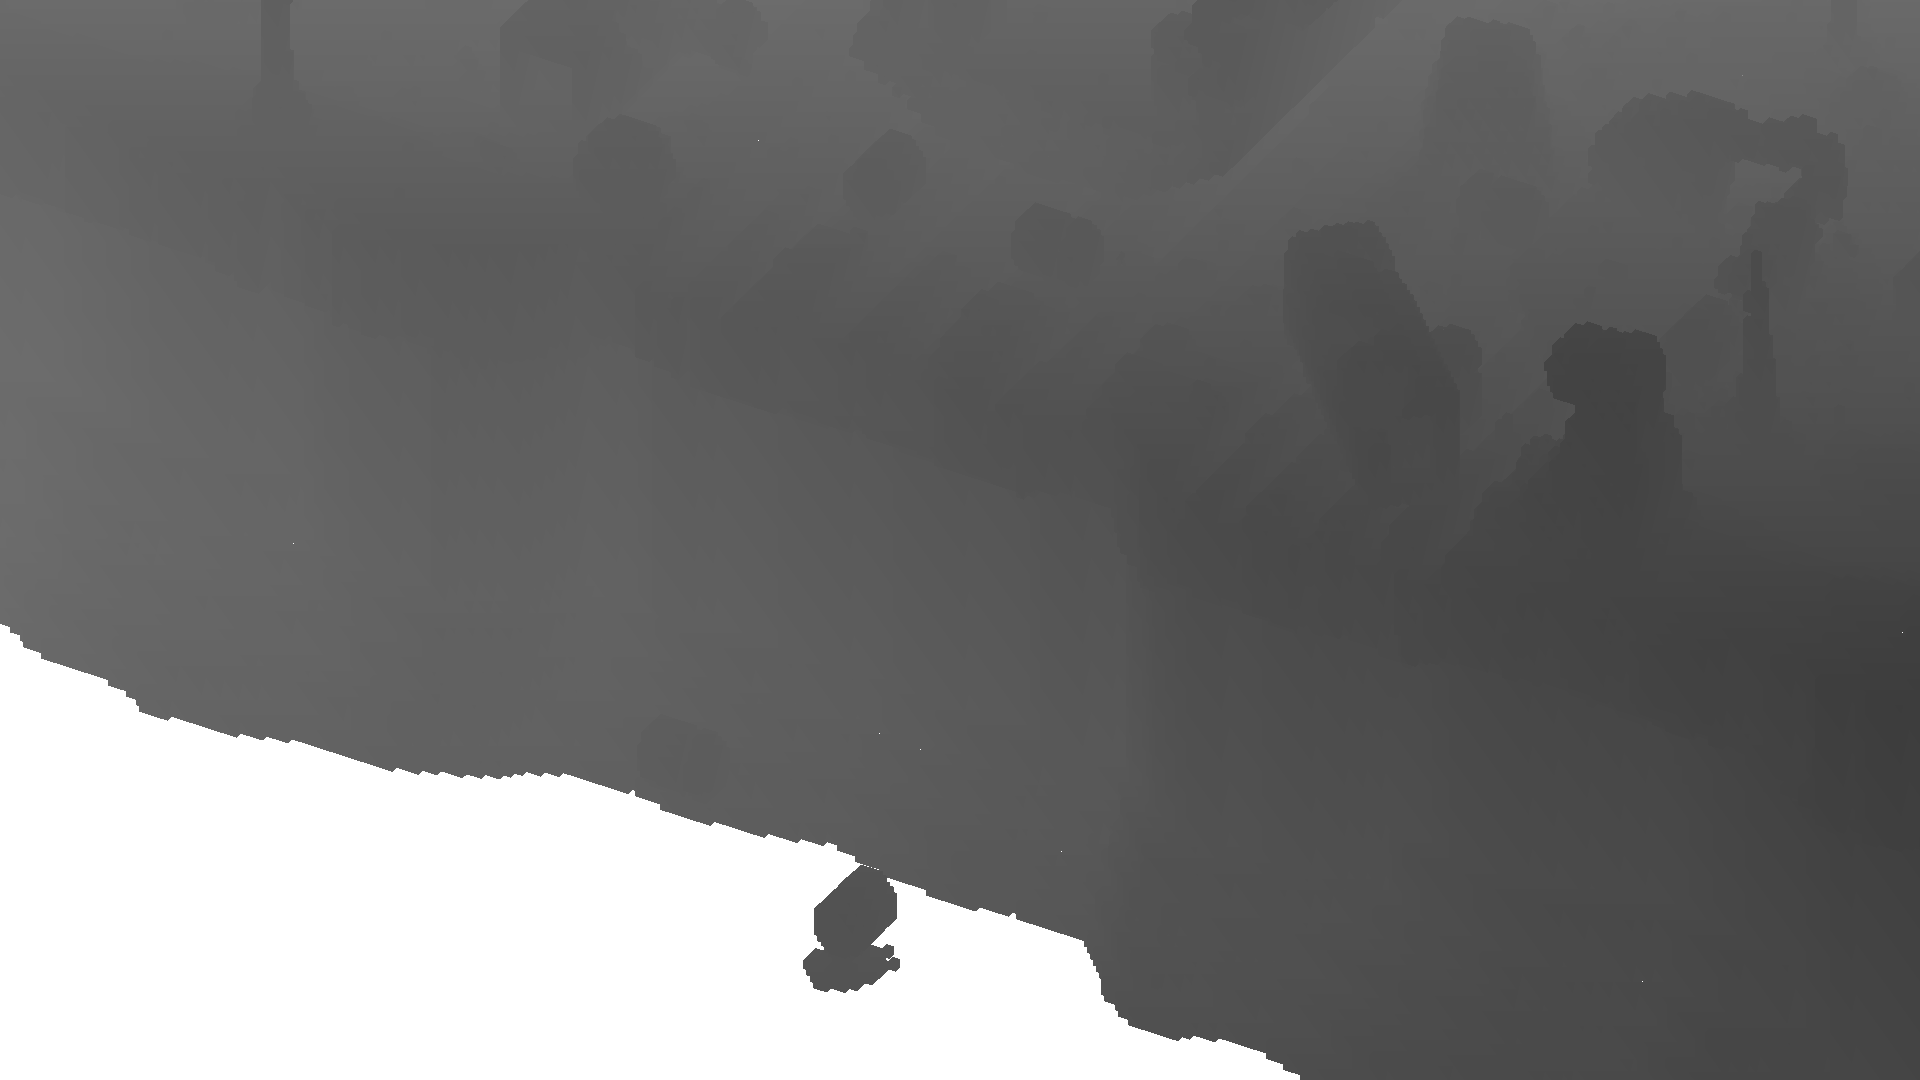
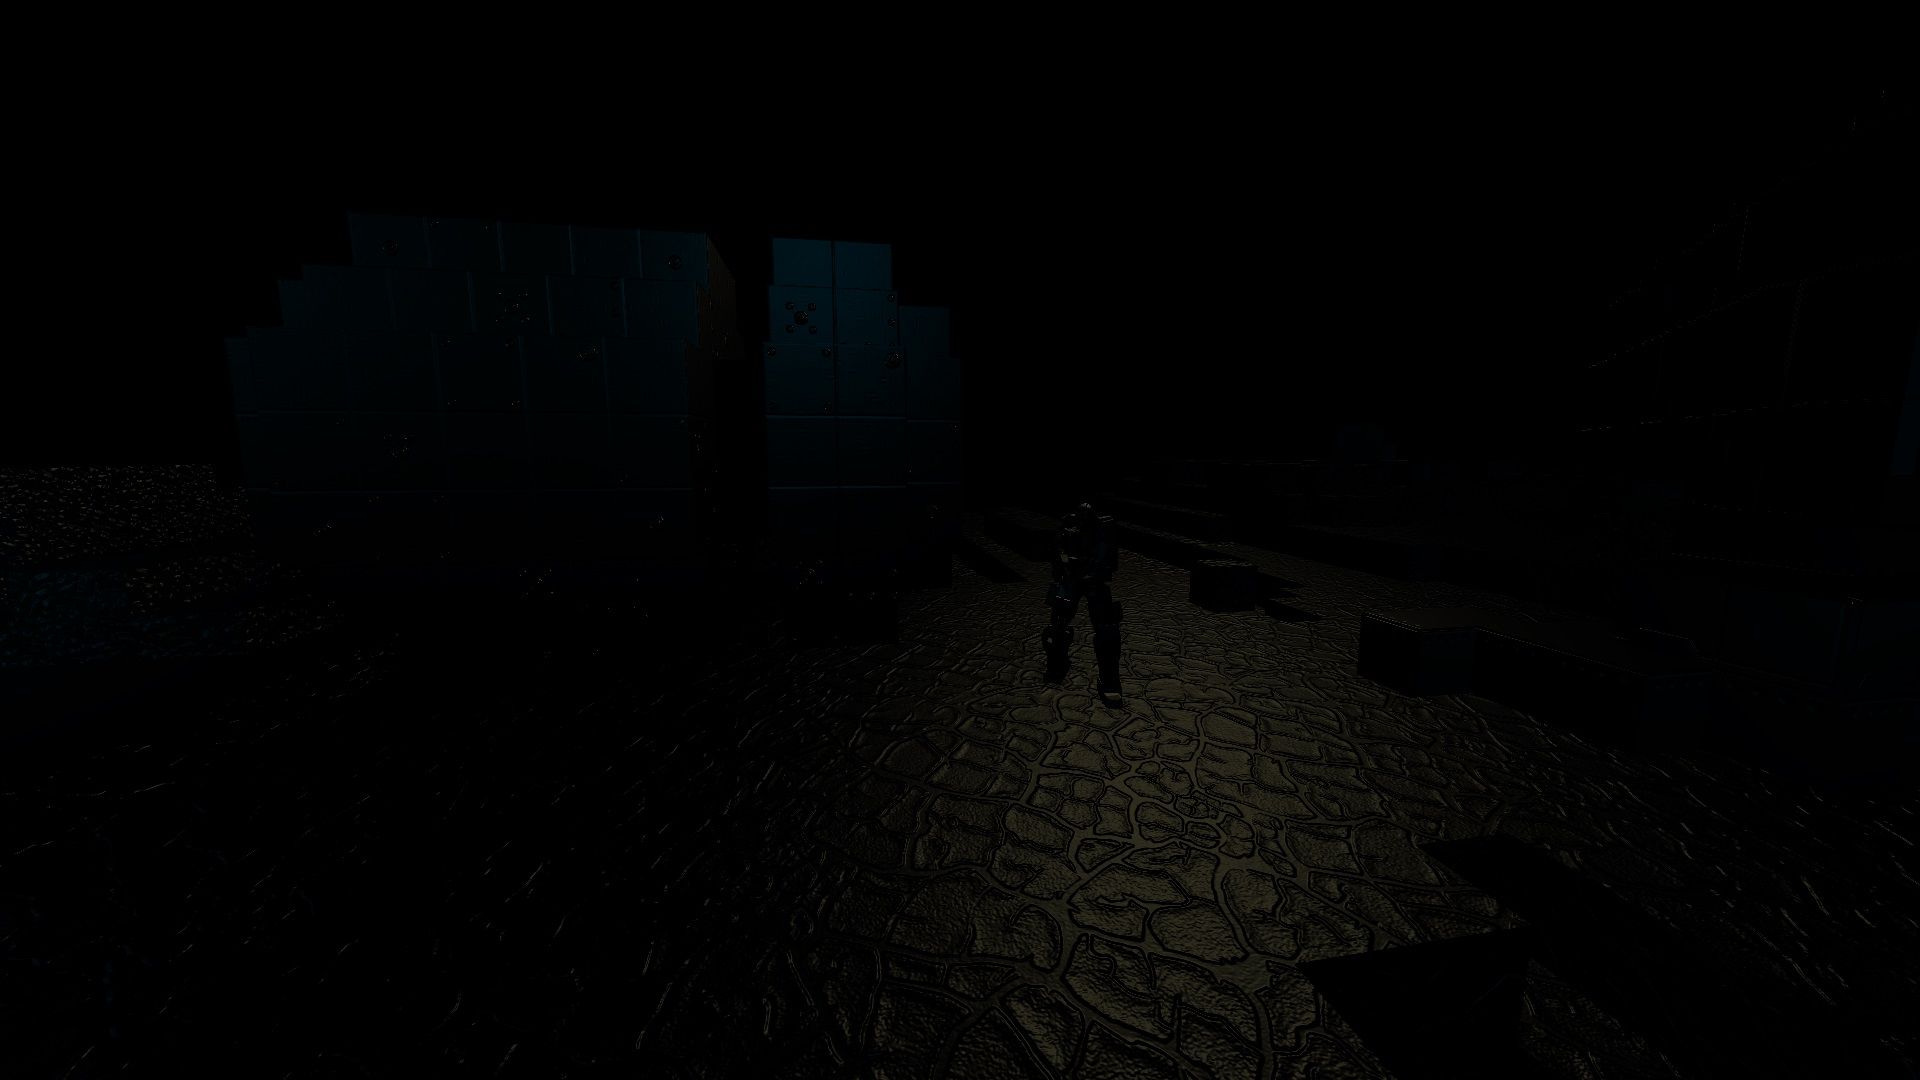
Depth Buffer

This one is a bit harder to see, so we've zoomed the image onto the character model.
The depth buffer stores how far away each pixel is from the camera. Darker parts of the image are closer to the camera and lighter parts are further away. These values are used later to calculate the 3D position of each pixel for post-processing effects like lighting.
Normal Buffer
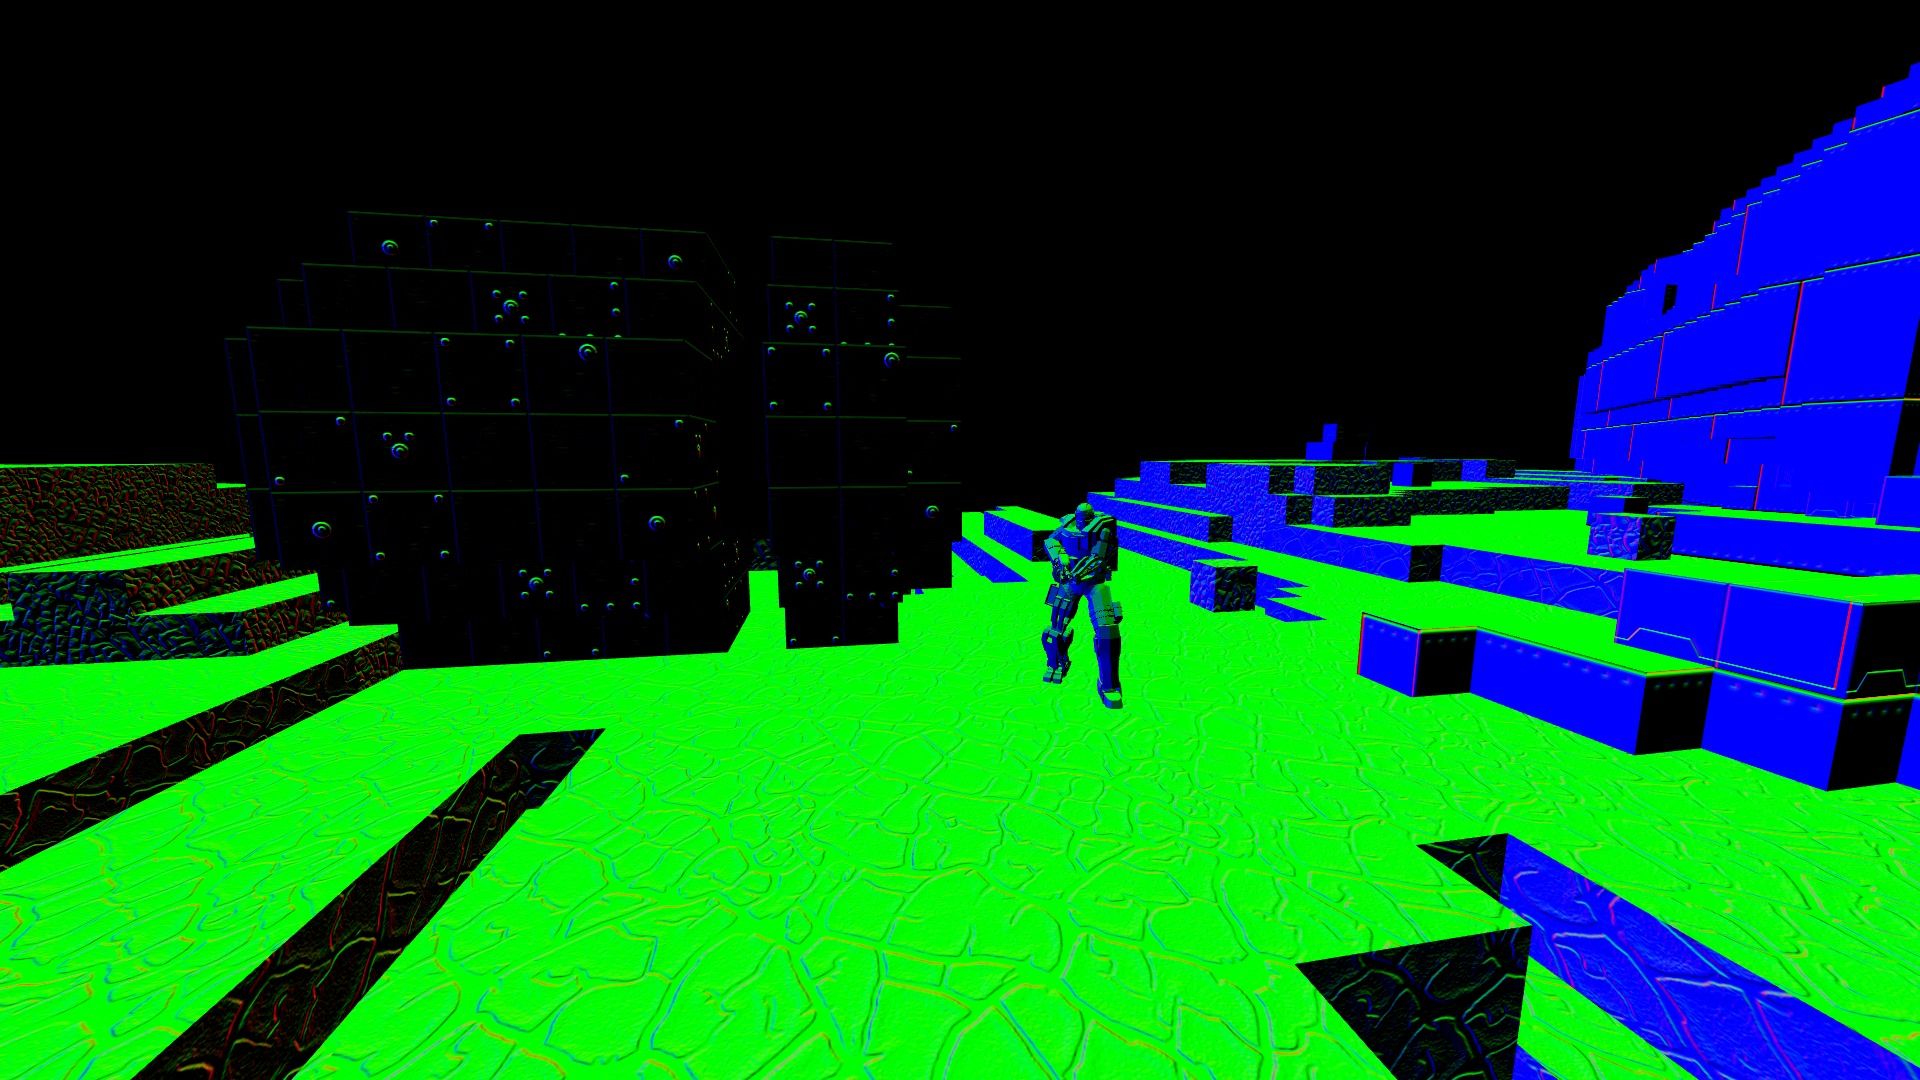
The normal buffer uses RGB values to represent the XYZ direction that each pixel is facing. These values range between -1 and 1 and are used for calculating shading and lighting during post-processing.
In the image above:
- Upwards facing pixels have a Y normal of 1, which is represented as green
- The walls on the right have a Z normal of 1, which is represented as blue
- Black parts of the image represent normals with a negative value, however we can't see them as monitors can only render positive colour values.
Here is another example:
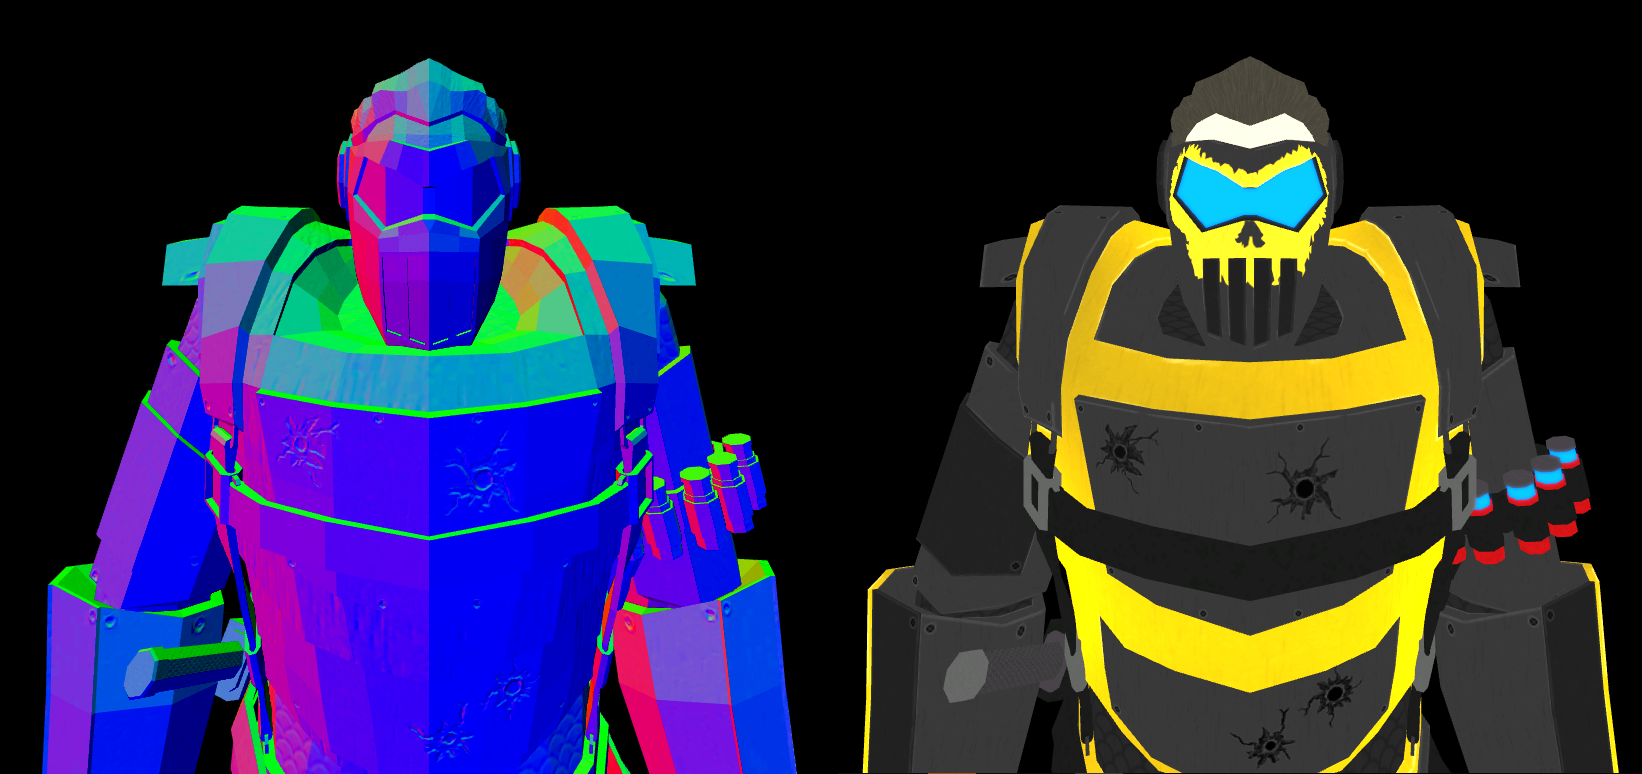
Left-facing (X) pixels have some red colour, pixels facing the camera (Z) have some blue colour and any upwards-facing (Y) pixels have some green colour.
Data Buffer
The data buffer stores two bytes for each pixel that define which post-processing effects will be applied to certain parts of the image.
Three bits in the first byte are used to determine whether the pixel:
- is part of the skybox, therefore no post-processing effects should be applied to these pixels
- is part of the voxel environment, meaning these pixels are affected by SSAO and shadows
- should have bloom effects applied
The second byte stores how reflective the pixel is, for example metal pixels should be more illuminated by lights than dirt.
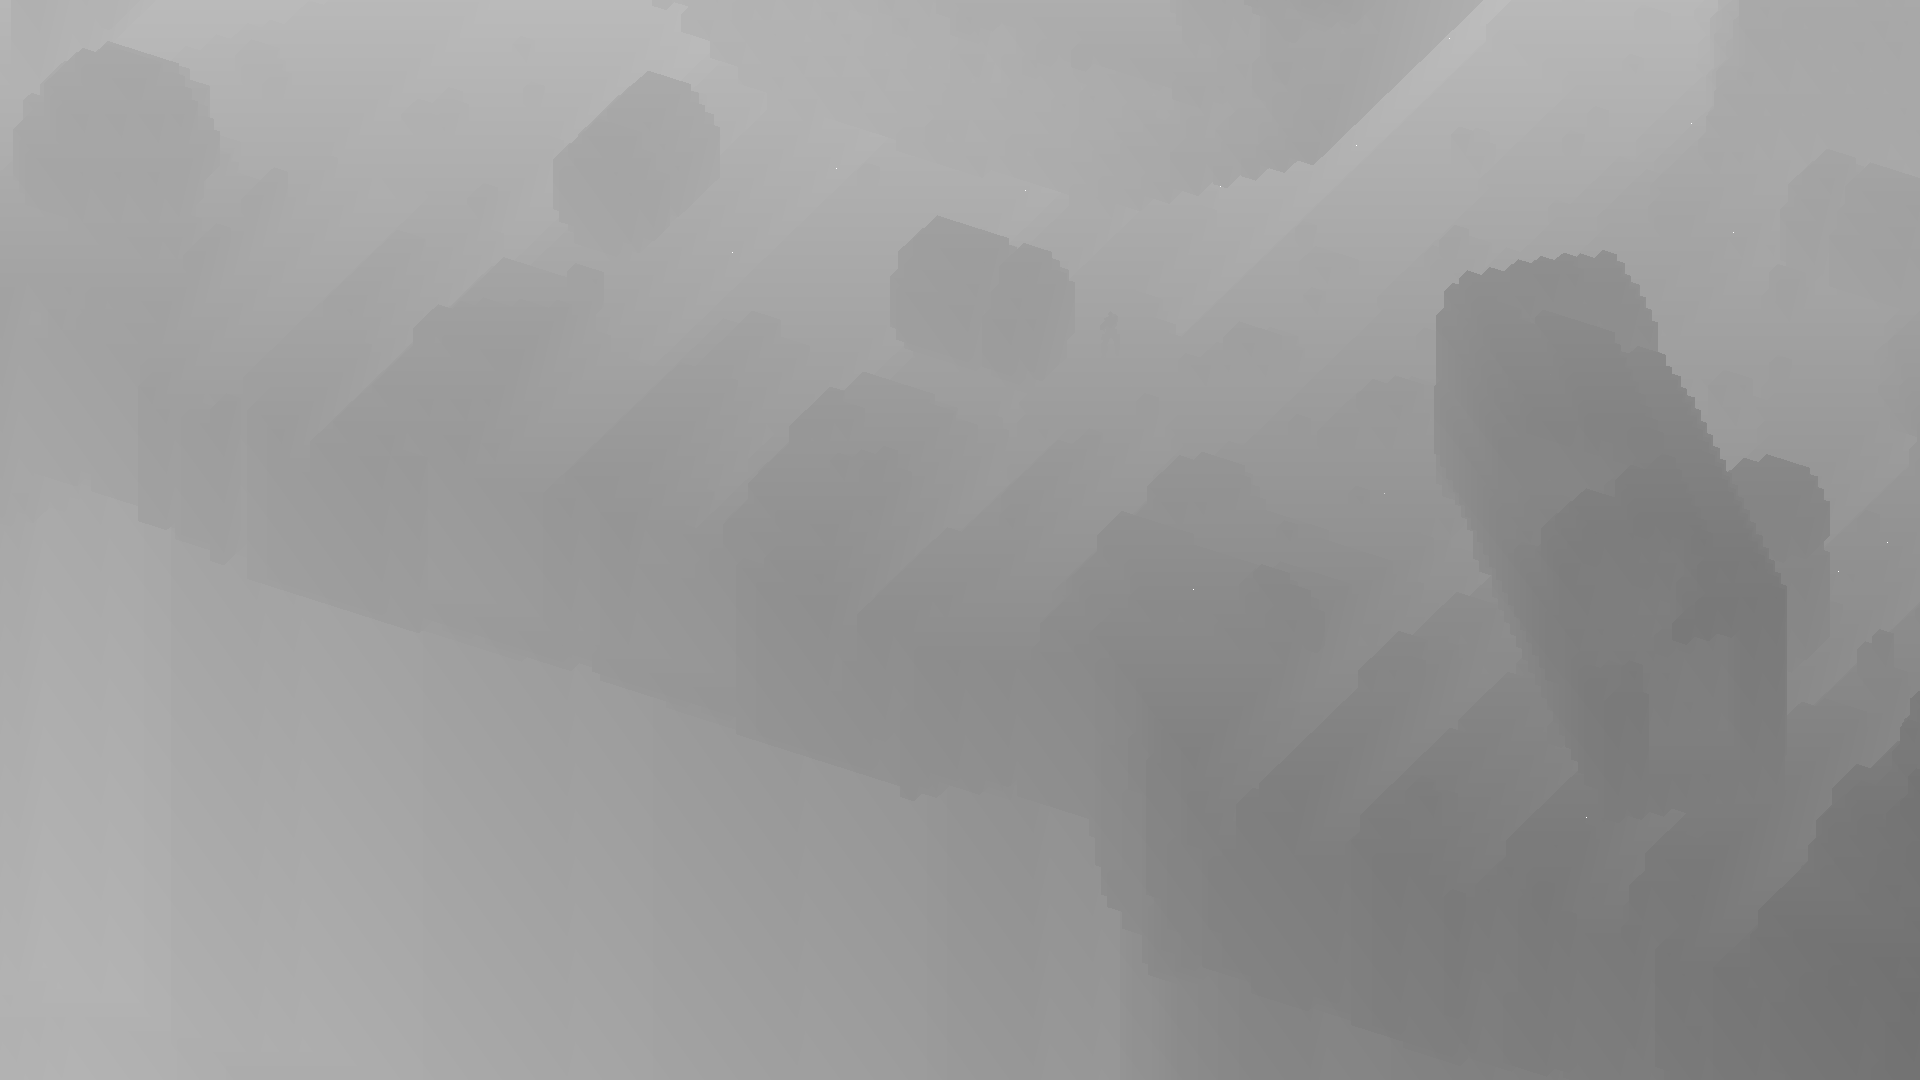
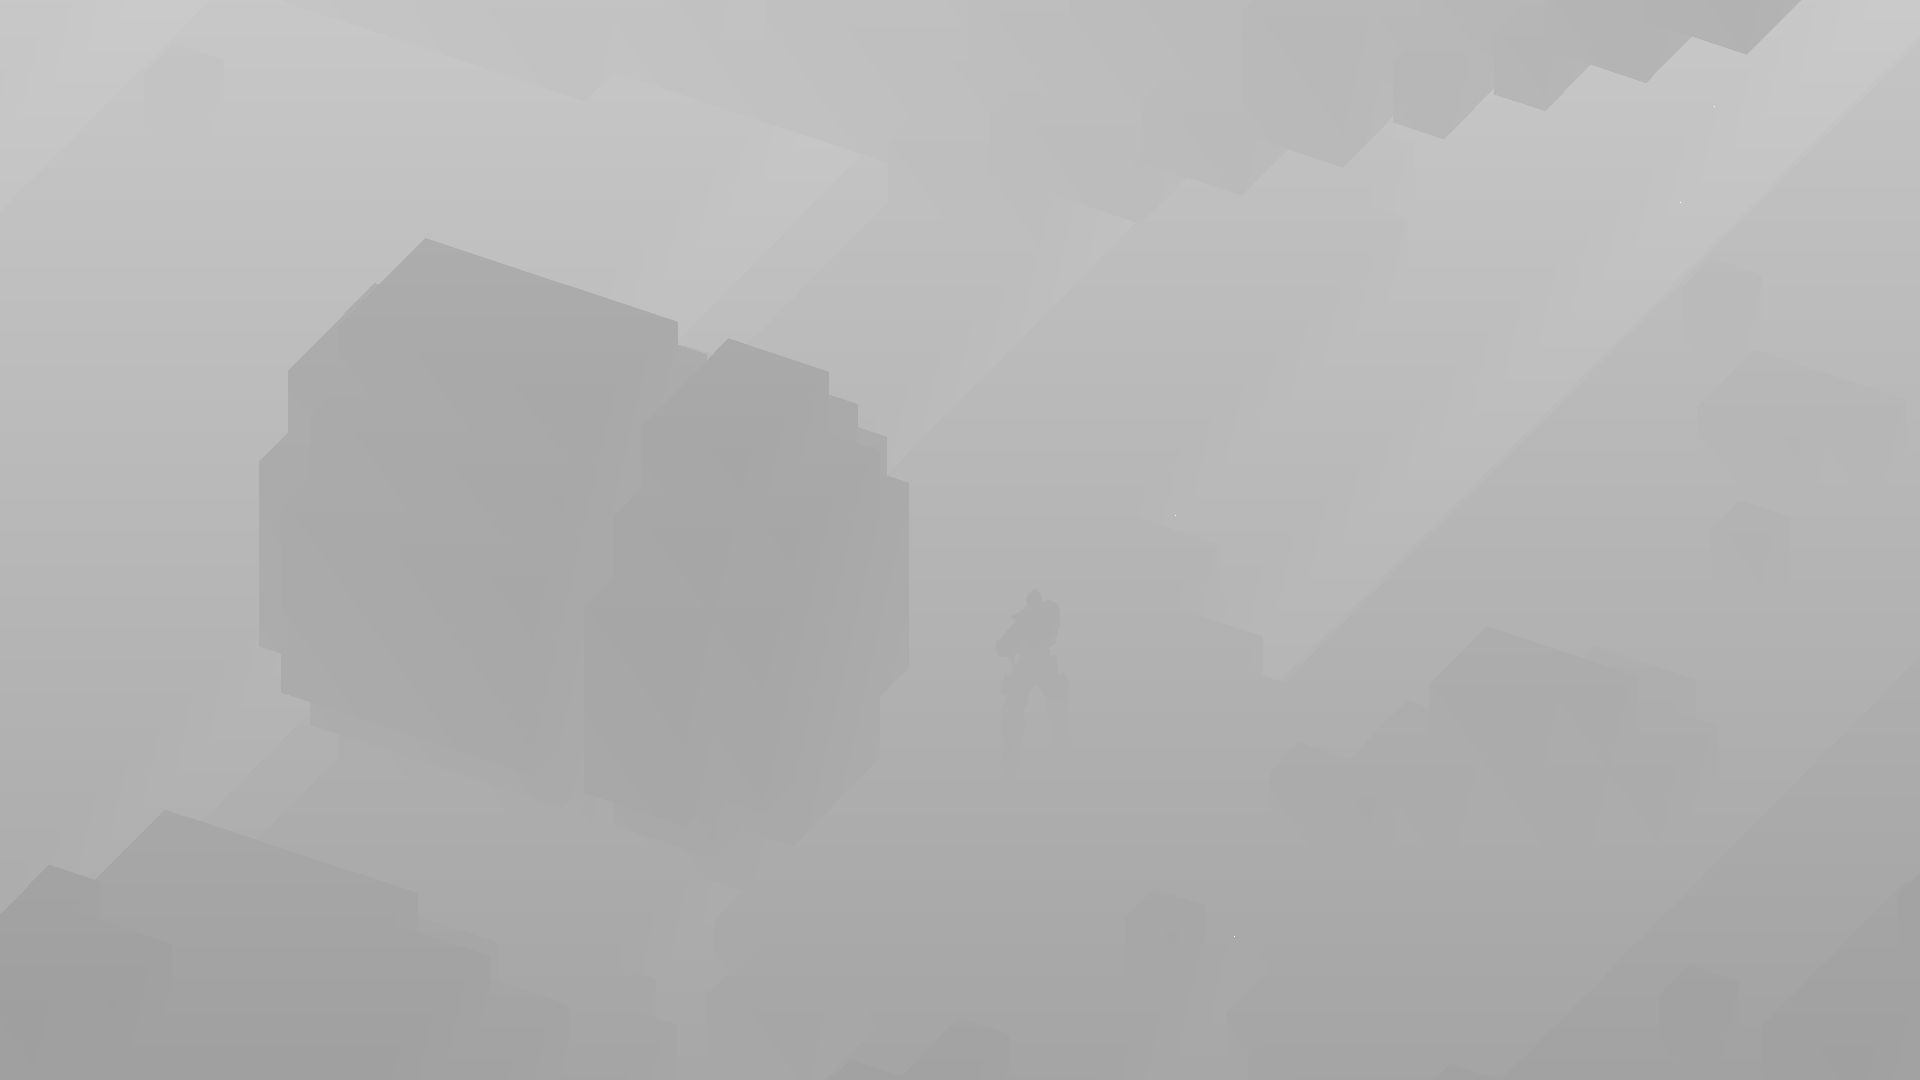
Stage 2. Shadow Rendering
The scene is rendered again into another 5 depth buffers, each of which store how far away each pixel is from a hypothetical 'sun'. By using 5 buffers we can have higher-quality shadows for the parts of the screen that are closer to the camera.
These buffers are generated from the sun's point of view looking down at the map, each more slightly zoomed than the last:

These buffers are used to darken certain parts of the colour buffer to create the illusion of shadows. This happens after the post-processing stage using some maths involving the values stored in the original depth buffer and the 5 shadow buffers.
Stage 3. Post Processing
Screen Space Ambient Occlusion
The first post-processing effect used is called Screen Space Ambient Occlusion (SSAO), which looks at the XYZ values in the normal buffer to locate crevices between objects.
The output is stored in the red component of the SSAO Buffer and is used to darken certain parts of the image later.
Bloom
Bloom is a post-processing effect that brightens and blurs certain parts of the image, to mimic looking directly at a light in real life.
Pixels that have a bloom bit set in the data buffer mean that they will be copied from the colour buffer to the Bloom Buffer. Once copied, the image is blurred:

Lighting
The average map in Sector's Edge has around 30-60 lights in it, each of which are compared against the depth, normal and reflectivity values of each pixel.
The final colour of each pixel is based on:
- The distance between the pixel and the light (the position of each pixel is calculated using some maths with the depth buffer)
- The pixel's XYZ normal value. Pixels facing away from a light will be illuminated less than pixels facing the light directly
- The reflectivity of each pixel - stored in the second byte of the data buffer - controls how much the pixel's colour will be affected by the light. For example, dirt has a lower reflectivity than metal
Lighting is applied directly to the colour buffer, but for this article we have separated the lighting values into their own buffer:
Stage 4. Putting it all Together
Starting with the colour buffer:
The shadow buffers and SSAO buffer are used to darken certain parts of the image:
Bloom and lighting is added to the image:
Transparent objects are then rendered directly to the final image. This is done last so that glass doesn't modify the depth/normal/data buffers, which would affect the post-processing effects:

And there you have it! All of this must be computed within 16ms to provide smooth gameplay at 60 frames per second. I describe how the game has been optimised to run at much higher frame rates in this article.
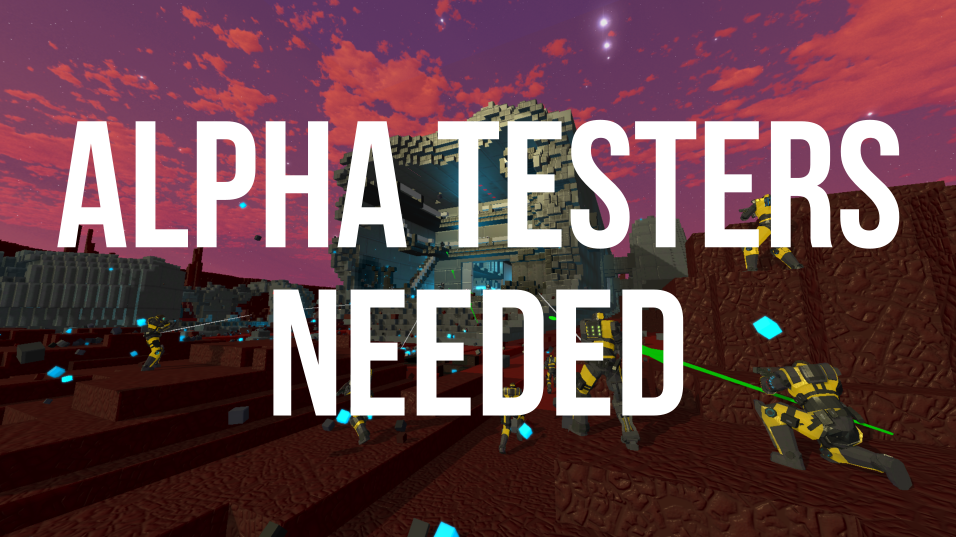
We are searching for people to help test Sector's Edge. Download the game for free on our website and let us know what you think on our Discord Server.